Yocto Project, Modifying the Linux Kernel using devtool.
Introduction
The Linux kernel supplied by a Yocto Project Board Support Package (BSP) is a good starting point for a new project, but kernels used in real-world products rarely remain unchanged.
Modifying the Linux kernel is one of the major tasks for an Embedded Systems Engineer working in a Linux development environment. Kernel changes are necessary when adapting an embedded Linux system to custom hardware or project-specific requirements.
The product's kernel therefore may need:
- A New device driver, or changes to the board's device tree,
- Changes to kernel configuration options to support new features,
- Fix a bug that is not yet available in the kernel version used by the project.
Understanding how to modify a kernel in a controlled and reproducible way while working with the Yocto Project is therefore a very important skill for embedded Linux developers.
The rule of thumb is when working with the Yocto Project, never directly modify official metadata (recipes, 'config', etc.). Instead, prefer overriding or extending them in a custom layer using .bbappend files or configuration overrides.
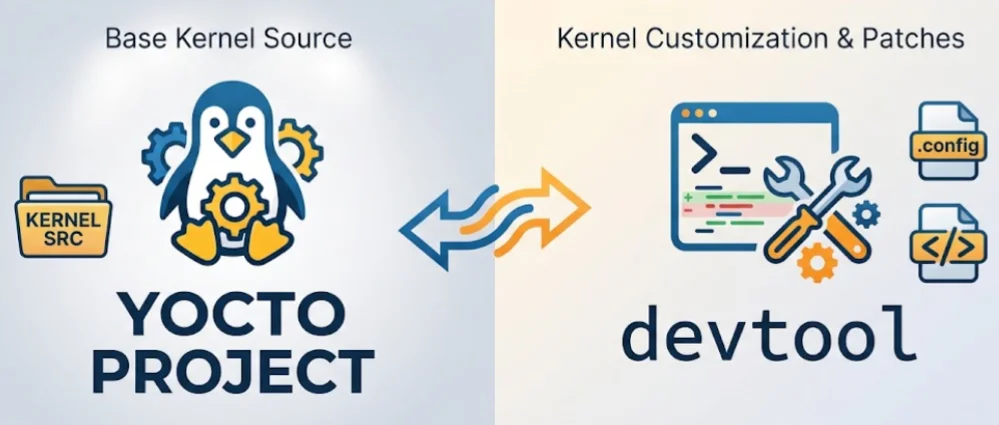
The Yocto Project provides a great tool called devtool that simplifies this development workflow. It allows source code to be edited, built, deployed, tested, and finally integrated into a layer for permanent use by turning the completed changes into patches and recipe updates.
NOTE: devtool can be used with the Linux kernel, U-Boot, or userspace applications. In this article, we will focus on using devtool for Linux kernel modifications.
Objective
The goal here is to use devtool to modify the Linux kernel source
by adding a simple print message in the start_kernel() function,
pr_info("GalyTEK: Hello from the modified kernel\n");
After rebuilding and booting the modified kernel, we will verify that this message appears in the kernel boot log. This simple change will demonstrate the complete workflow of using devtool in Yocto project to modify the kernel. The same workflow can then be applied to a complex kernel modification.
Prerequisites
This article assumes that you have already created a Yocto Project build environment and successfully built your first image for a target board or for QEMU.
You should therefore have:
- A working Yocto build environment, including the required BSP layers and a successfully built Linux image for your target.
- Basic familiarity with BitBake commands, layers, and recipes.
Gitinstalled and configured.
I use the STM32MP157A-DK1 as a development board in this article, but the same procedure applies to any other development board or to QEMU.
Initialise Yocto Build Environment
Before working with the devtool, we must prepare the terminal and
initialise the Yocto build environment by sourcing the oe-init-build-env script:
$ source path/to/poky/directory/oe-init-build-env <build-directory>
Bring the Kernel into the devtool Workspace
The first step to work with devtool is to extract the source code, in this case, the Linux kernel source code, into the devtool workspace by typing the following command:
$ devtool modify virtual/kernel
NOTE: By default, this command uses the
MACHINEconfigured in thelocal.conffile. It can be overridden by explicitly specifying theMACHINEin the command:
$ MACHINE="qemuarm" devtool modify virtual/kernel
# or example for stm32mp1
$ MACHINE="stm32mp1" devtool modify virtual/kernel
If you are unsure about which MACHINE is configured in the project's local.conf file, a quick way to figure it out is to type bitbake -e | grep '^MACHINE='. However, I recommend using the MACHINE already configured in the local.conf file. This keeps the workflow cleaner and avoids specifying MACHINE in every command.
The same thing applies to the virtual/kernel name; if you're unsure about it, get it by typing the command bitbake -e | grep 'PREFERRED_PROVIDER_virtual/kernel'
Output
If the previous command completes successfully, the Linux kernel source code should be available in the following directory:
<build-directory>/workspace/sources/<kernel-recipe-name>/For the STM32MP1 platform, the kernel recipe is named linux-stm32mp. Therefore, the source code will be available at:
<build-directory>/workspace/sources/linux-stm32mp/
Add the changes to the Kernel
As described earlier, our goal is to add a simple pr_info() message to the start_kernel() function.
Enter the source directory:
$ cd "$BUILDDIR/workspace/sources/<kernel-source-directory>"
Open the init/main.c file with your preferred text editor.
In my case, I use vim
$ vim init/main.c
Search for the start_kernel() function and add the print message before the call to the console_init() function:
pr_info("GalyTEK: Hello from the modified kernel!\n");
Review the change:
$ git diff -- init/main.c
$ git status --short
Build the Modified Kernel
$ devtool build <kernel-recipe>
# For STM32MP1
$ devtool build linux-stm32mp
A successful recipe build confirms that the modified kernel compiles correctly and is ready to be deployed to a target environment (physical board or QEMU), for testing.
Commit the change only the intended files:
$ cd "$BUILDDIR/workspace/sources/<kernel-source-directory>"
$ git add init/main.c
$ git commit -m "Add test print"
Export the changes to a Custom-Layer
The final step before deploying the new kernel is to export the kernel changes from the devtool workspace to a custom layer by running:
$ devtool finish <kernel-recipe-name> <path-to-your-custom-layer>
# STM32MP example, with custom meta-layer (`meta-gtek`):
$ devtool finish linux-stm32mp path/to/layer/meta-gtek
A common result for this modification is:
meta-gtek/
└── recipes-kernel/
    └── linux/
        ├── linux-stm32mp_%.bbappend
        └── linux-stm32mp/
            └── 0001-Add-test-message.patch
Verify the Normal Build & Test the kernel
$ bitbake <kernel-recipe>
$ bitbake <image>
Deploy the generated kernel image (uImage, zImage) depending on your target configuration to the physical board, or launch it with QEMU and verify. During boot, verify that the new message appears in the kernel log. If it wasn't visible in the boot output, after boot, search for it using the following command: dmesg | grep 'GalyTEK'.
Alternative Ways to Test the Modified Kernel (Deploy and Test Before Finishing)
Before running devtool finish, we should usually test the modification. It is always better to build, deploy, and test the development version while the source code is still in the devtool workspace.
The usual workflow is:
devtool modify -> edit -> devtool build -> deploy and test -> devtool finish
However, when making changes to a kernel recipe for a physical target, I prefer to upload the kernel image to a TFTP boot server and test it from there. I may also update the NFS server if the changes require new kernel modules or root filesystem updates. I find this workflow faster and easier when working with kernel customisation.
Nevertheless, devtool deploy-target can also be used with a kernel recipe, but kernel deployment is BSP and board-specific. Therefore, devtool deploy-target does not necessarily update the kernel or artifacts that the board actually loads. Before using devtool deploy-target for a kernel, verify where the bootloader loads the kernel and device tree from.
IMPORTANT:
devtool deploy-targetis intended for development and testing, not for updating production systems. A faulty kernel can prevent the board from booting, so make sure the board has a recovery method before replacing its boot kernel.
First, build the modified recipe:
$ devtool build <recipe-name>
For recipes whose output can be installed directly on a running target, use devtool deploy-target. This command copies the files installed by the recipe's do_install task to the target over SSH (make sure that SSH is configured on the target and that the host can connect to it)
$ devtool deploy-target <recipe-name> root@<target-ip>
# STM32MP1 example
$ devtool deploy-target linux-stm32mp [email protected]
When devtool deploy-target is not suitable, create an image that includes the workspace version of the kernel:
$ devtool build-image <image-name>
Then deploy the resulting image using the normal procedure for the target BSP. Alternatively, manually deploy the generated kernel image, device-tree files, and kernel modules to the locations expected by the bootloader and root filesystem.
After rebooting the target with the development kernel, verify the change:
$ dmesg | grep 'GalyTEK'
Conclusion
devtool is an important tool when working with the Yocto Project, and is no less important than BitBake. It is especially useful when customising source code. In this article, we demonstrated the workflow using a simple kernel modification, but its real power shines with larger changes, which simplify development, testing, and integration.

Kommentare (2)
Great article, thanks a lot for promoting Yocto and devtool! One suggestion: you can use "bitbake-getvar <VARIABLE>" instead of "bitbake -e | grep VARIABLE". That's faster and helps to understand where the value comes from.
Thank you for your comment and suggestion Michael Opdenacker! :) You always share such helpful Yocto best practices.
Kommentar melden oder löschen
Wählen Sie eine Aktion und geben Sie Ihre E-Mail ein. Der Admin wird Ihre Anfrage prüfen.
Kommentar hinterlassen
Private Frage senden
Ihre Nachricht wird direkt per E-Mail an mich gesendet — nicht für andere Leser sichtbar.